I recall the first time I attended a city council meeting. My hands were sweating, my heart was racing, and I had no idea what I was doing. All I knew was that the pothole on my street had been there for eight months, and nobody seemed to care.
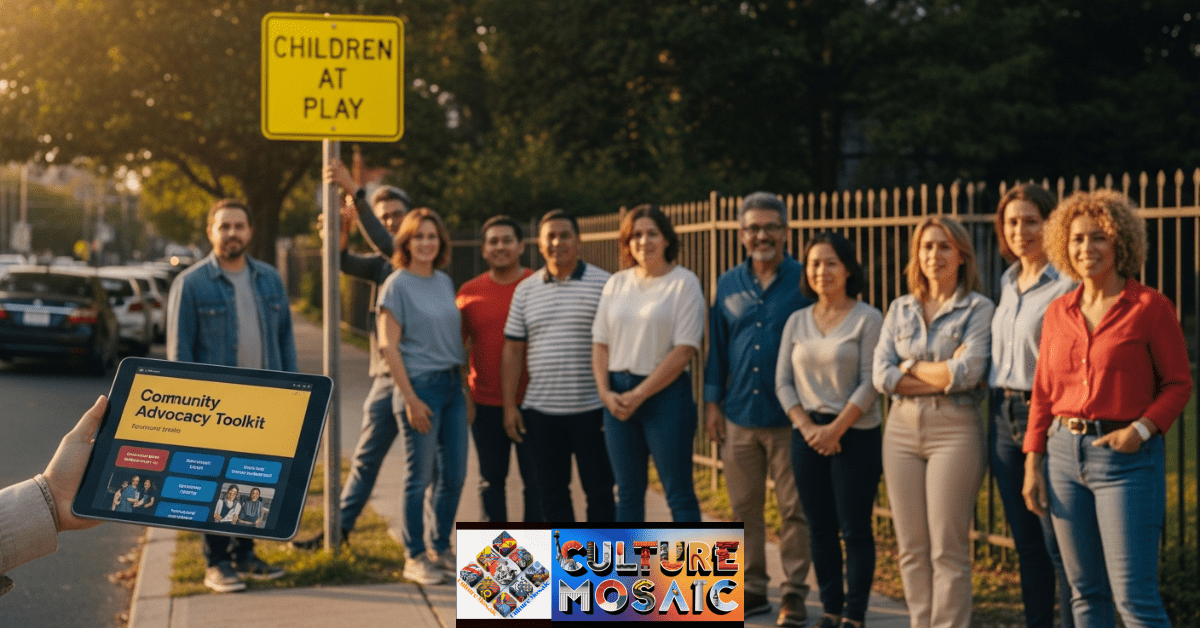
That was five years ago. Since then, I’ve helped neighbors get speed bumps installed, fought for better street lighting, and watched our community turn a vacant lot into a playground. The secret? A solid community advocacy toolkit that anyone can use.
You don’t need a law degree or political connections. You just need to care about your neighborhood and know which tools actually work.
What a Community Advocacy Toolkit Really Is
Think of a community advocacy toolkit as your instruction manual for getting things done in your city. It’s the templates, scripts, strategies, and resources that help regular people make their voices heard by the people in charge.
Every effective community advocacy toolkit has three parts: knowing who to talk to, knowing what to say, and knowing when to say it. Miss any of these, and you’re basically shouting into the void.
The good news? Local government officials actually want to help you. They simply need you to simplify things for them. That’s exactly what this toolkit does.
Who Actually Makes Decisions in Your Community
Before you can advocate for anything, you need to understand who controls what. I spent my first three months emailing the wrong people because I didn’t do this homework.
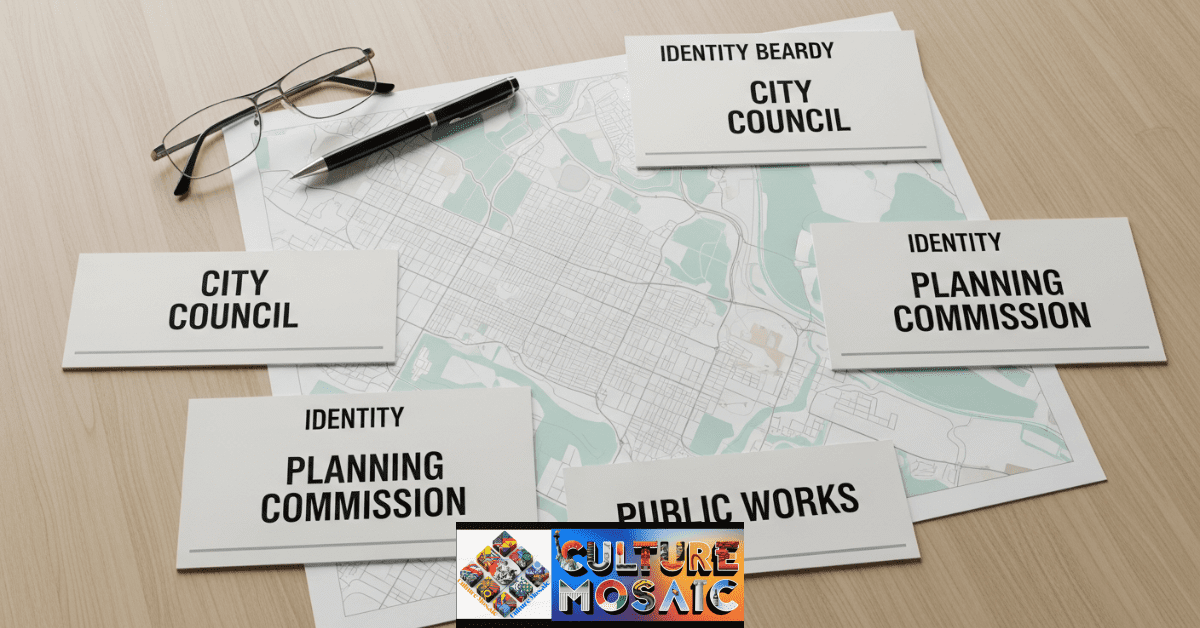
Your city council controls budgets and passes local laws. Your school board manages everything education-related. Your county commissioners handle regional issues like roads and parks. Planning commissions decide what gets built where.
Here’s what nobody tells you: these people are incredibly accessible. Your state senator might ignore your email, but your city council member? They probably live three blocks away and answer their own phone.
Finding Your Local Decision-Makers
Every community advocacy toolkit should start with a simple list of names and contact information. Go to your city’s website and write down every council member’s name, district, email, and phone number.
Then do the same for your school board, county commissioners, and any special districts in your area. Yes, this feels boring. But this one-hour task will save you dozens of hours later.
Join your neighborhood association if you have one. These groups already have relationships with local officials and can amplify your voice immediately.
Building Your Email Template Library
I’ve sent hundreds of emails to local officials. You know what I learned? The ones that get responses follow the same basic formula every single time.
Your community advocacy toolkit needs at least three email templates: one for introducing yourself and an issue, one for following up on previous communication, and one for thanking officials who help you.
The Introduction Email That Gets Read
Start with a clear subject line. Not “Important Issue” but something like “Request for Crosswalk Study at Wilson and 5th.” Officials get dozens of emails daily. Tell them exactly what you want right in the subject line.
Your first sentence should say where you live. “I’m a homeowner at 342 Wilson Street” proves you’re actually their constituent. Then state your issue in one sentence. Then propose a solution.
Always end with a specific request. “I’m asking you to add a crosswalk safety study to next month’s Public Works agenda” is infinitely better than “please look into this.”
The Follow-Up That Stays Polite
Two weeks with no response? Time to follow up. Your community advocacy toolkit should include a polite but persistent follow-up template.
Reference your original email with the date you sent it. Restate your request. Ask for a timeline on when you might expect a response. Stay friendly. These people are busy, not malicious.
Speaking at Public Meetings Without Losing Your Nerve
Public comment time at council meetings terrified me at first. Now I actually look forward to it. The trick is preparation.
Every community advocacy toolkit needs a public speaking guide because this is where you have the most impact. Emails are easy to ignore. Someone standing at a microphone in front of TV cameras? Not so much.
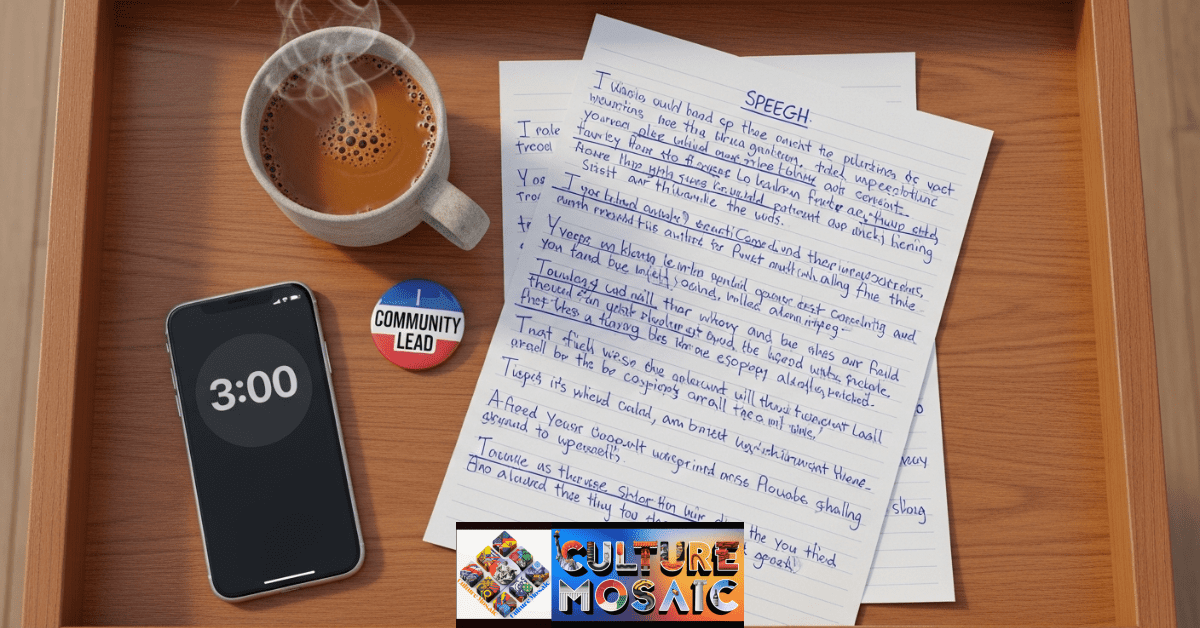
Your Three-Minute Script
Most councils give you three minutes. Write out exactly what you’ll say and time yourself. I cannot stress this enough: practice out loud. What looks good on paper often sounds clunky when spoken.
Start strong. Your first sentence should be either a startling fact or a personal story. “Three cars have crashed at this intersection in the past month” grabs attention. So does “My daughter walks past this corner every day to school, and I’m terrified.”
Make one point only. I know you probably care about fifteen things, but trying to cover multiple issues makes you look scattered. Pick your most important concern and hammer it home.
End with your ask. “I’m requesting that the council allocate $15,000 for a traffic study in this month’s budget” tells them exactly what action you want.
Bringing Backup
Your community advocacy toolkit becomes ten times more powerful when you’re not alone. Coordinate with neighbors to speak consecutively on the same issue.
When five people in a row talk about the same dangerous intersection, council members start taking notes. When it’s just you, they might think you’re the only one who cares.
Wear similar colors if you can. Sounds silly, but visual unity makes your group look organized and serious.
Digital Tools That Actually Help
Every modern community advocacy toolkit includes some tech. But you don’t need expensive software or complicated apps.
Free Platforms Worth Using
Google Docs works perfectly for collaborating on letters, petitions, and talking points. Share one document with your neighbors and everyone can contribute ideas.
Facebook groups remain the easiest way to keep community members updated. Create a private group for your core organizers and a public one for broader community awareness.
For petitions, both Change.org and iPetitions are free and easy. Just remember that online signatures alone rarely change minds. They’re useful for showing broad support, but you still need people showing up in person.
Social Media Strategy
Your community advocacy toolkit should include guidelines for posting on social media. The goal isn’t to go viral. It’s to keep your neighbors informed and motivated.
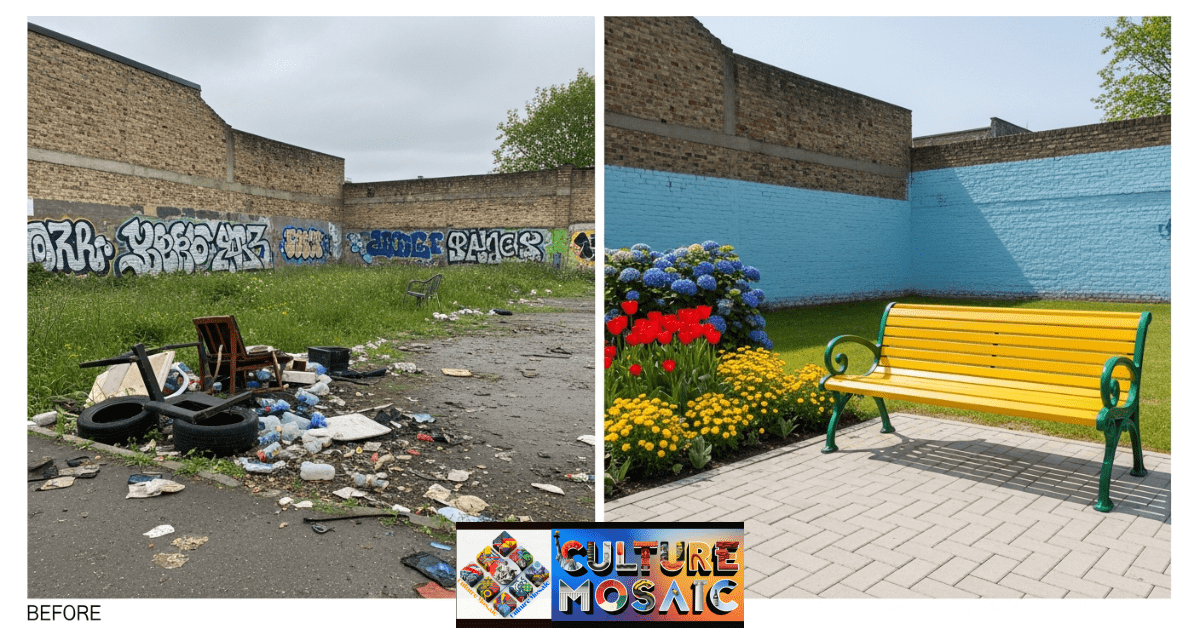
Post photos of the problem you’re trying to solve. Take before pictures now so you’ll have dramatic before-and-after comparisons when you win.
Tag local officials in your posts. They pay attention to public mentions because other constituents see them. A public question on Facebook often gets faster responses than a private email.
Starting Small to Build Momentum
Here’s what I wish someone had told me on day one: don’t start with your biggest, hardest issue. Start with something you can actually win quickly.
The most important part of any community advocacy toolkit is understanding the power of small victories. That first win proves to you, your neighbors, and local officials that advocacy actually works.
The Micro-Win Strategy
Need a traffic light that requires years of studies and hundreds of thousands of dollars? Start by requesting a temporary stop sign or speed limit reduction that can happen in weeks.
Want a new park that costs millions? Begin by asking for the city to mow an abandoned lot and add a bench.
These small wins create momentum. They prove you’re serious. They give you credibility when you come back with bigger requests. And honestly, they keep you from burning out.
Documenting Everything
Take photos constantly. Email yourself notes after every phone call with officials. Save every response you get.
Your community advocacy toolkit should include a simple system for tracking all this. I use a Google spreadsheet with columns for date, who I contacted, what I asked for, and what happened. Nothing fancy, but it prevents things from falling through the cracks.
This documentation becomes crucial when officials claim they never received your request or when you need to prove you’ve been trying to work through proper channels.
Coalition Building That Works
You know what makes your community advocacy toolkit way more effective? Partners.
I used to think I needed to do everything myself. That lasted about three months before I completely burned out. Now I actively look for organizations and individuals who care about similar issues.
Finding Your Allies
Is your issue environmental? Reach out to local green groups. About schools? Connect with parent organizations. Accessibility? Disability rights advocates already know the system.
These established groups have email lists, media connections, and institutional knowledge. They’ve attended countless meetings and know which officials actually respond to pressure.
In exchange, they get authentic community voices supporting their work. It’s genuinely win-win.
Making Partnerships Last
Your community advocacy toolkit needs guidelines for working with partners. Schedule regular check-ins. Divide responsibilities based on who’s good at what. Some people love research. Others are natural public speakers. Let everyone contribute their strengths.
Create shared documents that everyone can access. Nothing kills momentum faster than critical information living in one person’s email inbox.
Be clear about decision-making from the start. Does everyone get equal say? Is there a lead organization? Figure this out early to avoid conflicts later.
The Art of Following Up
This might be the most underrated tool in any community advocacy toolkit: persistent, polite follow-up.
Local government moves slowly. A request you made in January might not get addressed until June. If you don’t follow up regularly, it simply won’t happen.
Creating Your Follow-Up Schedule
Put reminders in your phone. Two weeks after initial contact, follow up. If you get a response promising action, follow up when that deadline passes. If you don’t get a response, follow up anyway.
Every community advocacy toolkit should include a tracking system for this. I use a simple calendar with alerts. Low-tech, but it works.
Stay pleasant in these follow-ups. You’re not accusing anyone of incompetence. You’re just a concerned resident checking on the status of your request.
Measuring What Matters
Your community advocacy toolkit isn’t complete without ways to measure whether you’re making progress.
I used to think the only metric was “did we win?” But that’s way too narrow. Advocacy creates change in lots of ways.
Tracking Your Impact
Count how many people attend your meetings. Monitor how many signatures you collect. Notice whether local officials start responding faster to your emails.
These indicators tell you whether your coalition is growing and whether you’re becoming more effective, even before you achieve your ultimate goal.
Survey your supporters occasionally. How did they hear about the issue? What motivated them to get involved? This feedback helps you refine your outreach.
Learning From Setbacks
Not every campaign succeeds. Your community advocacy toolkit should include a process for analyzing defeats and extracting lessons.
Did you need more community support before approaching officials? Should you have started with smaller requests? Was your timing off?
I’ve learned more from losses than wins. Each setback teaches you something that makes your next campaign stronger.
Avoiding Burnout
Real talk: advocacy is exhausting. Your community advocacy toolkit absolutely must include strategies for sustainability, or you’ll flame out in six months.
Sharing the Load
Rotate who attends meetings. Rotate who sends emails. Rotate who manages social media. No single person should carry the entire burden.
When I stopped trying to do everything myself, advocacy became enjoyable again. Let people contribute in ways that match their schedules and skills.
Celebrate small wins loudly. Did someone new show up at a meeting? That’s worth celebrating. Did a council member respond positively to an email? Time for a group text celebrating the progress.
Knowing When to Escalate
Sometimes local officials simply won’t listen, no matter how perfectly you execute every tool in your community advocacy toolkit.
That’s when you escalate. Contact state representatives. Reach out to the media. File formal complaints. Explore legal options if appropriate.
But escalation should come after you’ve genuinely tried to work through local channels. Document everything so you can show you attempted good-faith engagement first.
Making It Sustainable
The best community advocacy toolkit includes plans for long-term engagement, not just one-off campaigns.
Build relationships with officials even when you don’t need anything. Attend meetings to support other residents’ concerns. Send thank-you notes when officials do something right.
This ongoing presence means you’re not starting from scratch every time a new issue emerges. Officials know your name. They take your calls. They trust that when you raise an issue, it’s legitimate and represents real community concern.
Teaching Others
Share your community advocacy toolkit with neighbors who want to get involved. The more people who understand how local government works, the stronger your community becomes.
I now run quarterly workshops teaching people the basics of local advocacy. It started small, just a few neighbors in my living room. Now we regularly train twenty people at a time.
Some become core coalition members. Others just use the tools for their individual concerns. Either way, we’re building a community that knows how to advocate for itself.
Frequently Asked Questions
How long does it take to see results with a community advocacy toolkit?
Simple requests can get resolved in weeks, while complex issues requiring budget allocation or policy changes typically take six months to two years. The key is staying persistent and celebrating little progress along the way.
Do I need any special skills to use a community advocacy toolkit effectively?
Not at all. If you can write an email, speak for three minutes, and keep track of who you’ve contacted, you have everything you need. The toolkit provides the templates and strategies.
What if I’m the only person in my neighborhood who cares about an issue?
Start by documenting the problem thoroughly and reaching out to just a few neighbors. Often people care but don’t know how to help. Your community advocacy toolkit gives them concrete ways to contribute.
How do I know which officials to contact first?
Start with your city council member or the specific department that handles your issue. Your community advocacy toolkit should include a list of who controls what so you’re contacting the right people.
Can a community advocacy toolkit work for issues beyond my neighborhood?
Absolutely. The same principles apply whether you’re advocating for a street repair or a citywide policy change. You’ll just need to scale up your coalition and outreach efforts accordingly.
Look, I’m not going to pretend that building and using a community advocacy toolkit is always easy. There will be frustrating meetings where nothing happens. There will be emails that go unanswered. There will be moments when you wonder if any of this matters.
But then you’ll drive past that new stop sign that wouldn’t exist without your advocacy. You’ll see kids playing in a park that was an empty lot before your coalition organized. You’ll read about a policy change that started with your testimony at a council meeting.
That’s when you’ll know: your voice matters. Your community advocacy toolkit works. And regular people really can change the place they live, one organized effort at a time.
The question isn’t whether these tools work. It’s whether you’re ready to use them. Start small, stay consistent, and watch what happens when your community finds its voice.